
Do you want to add some personality to your morning cup of coffee? Here’s one way I gave my mug some identity 🙂
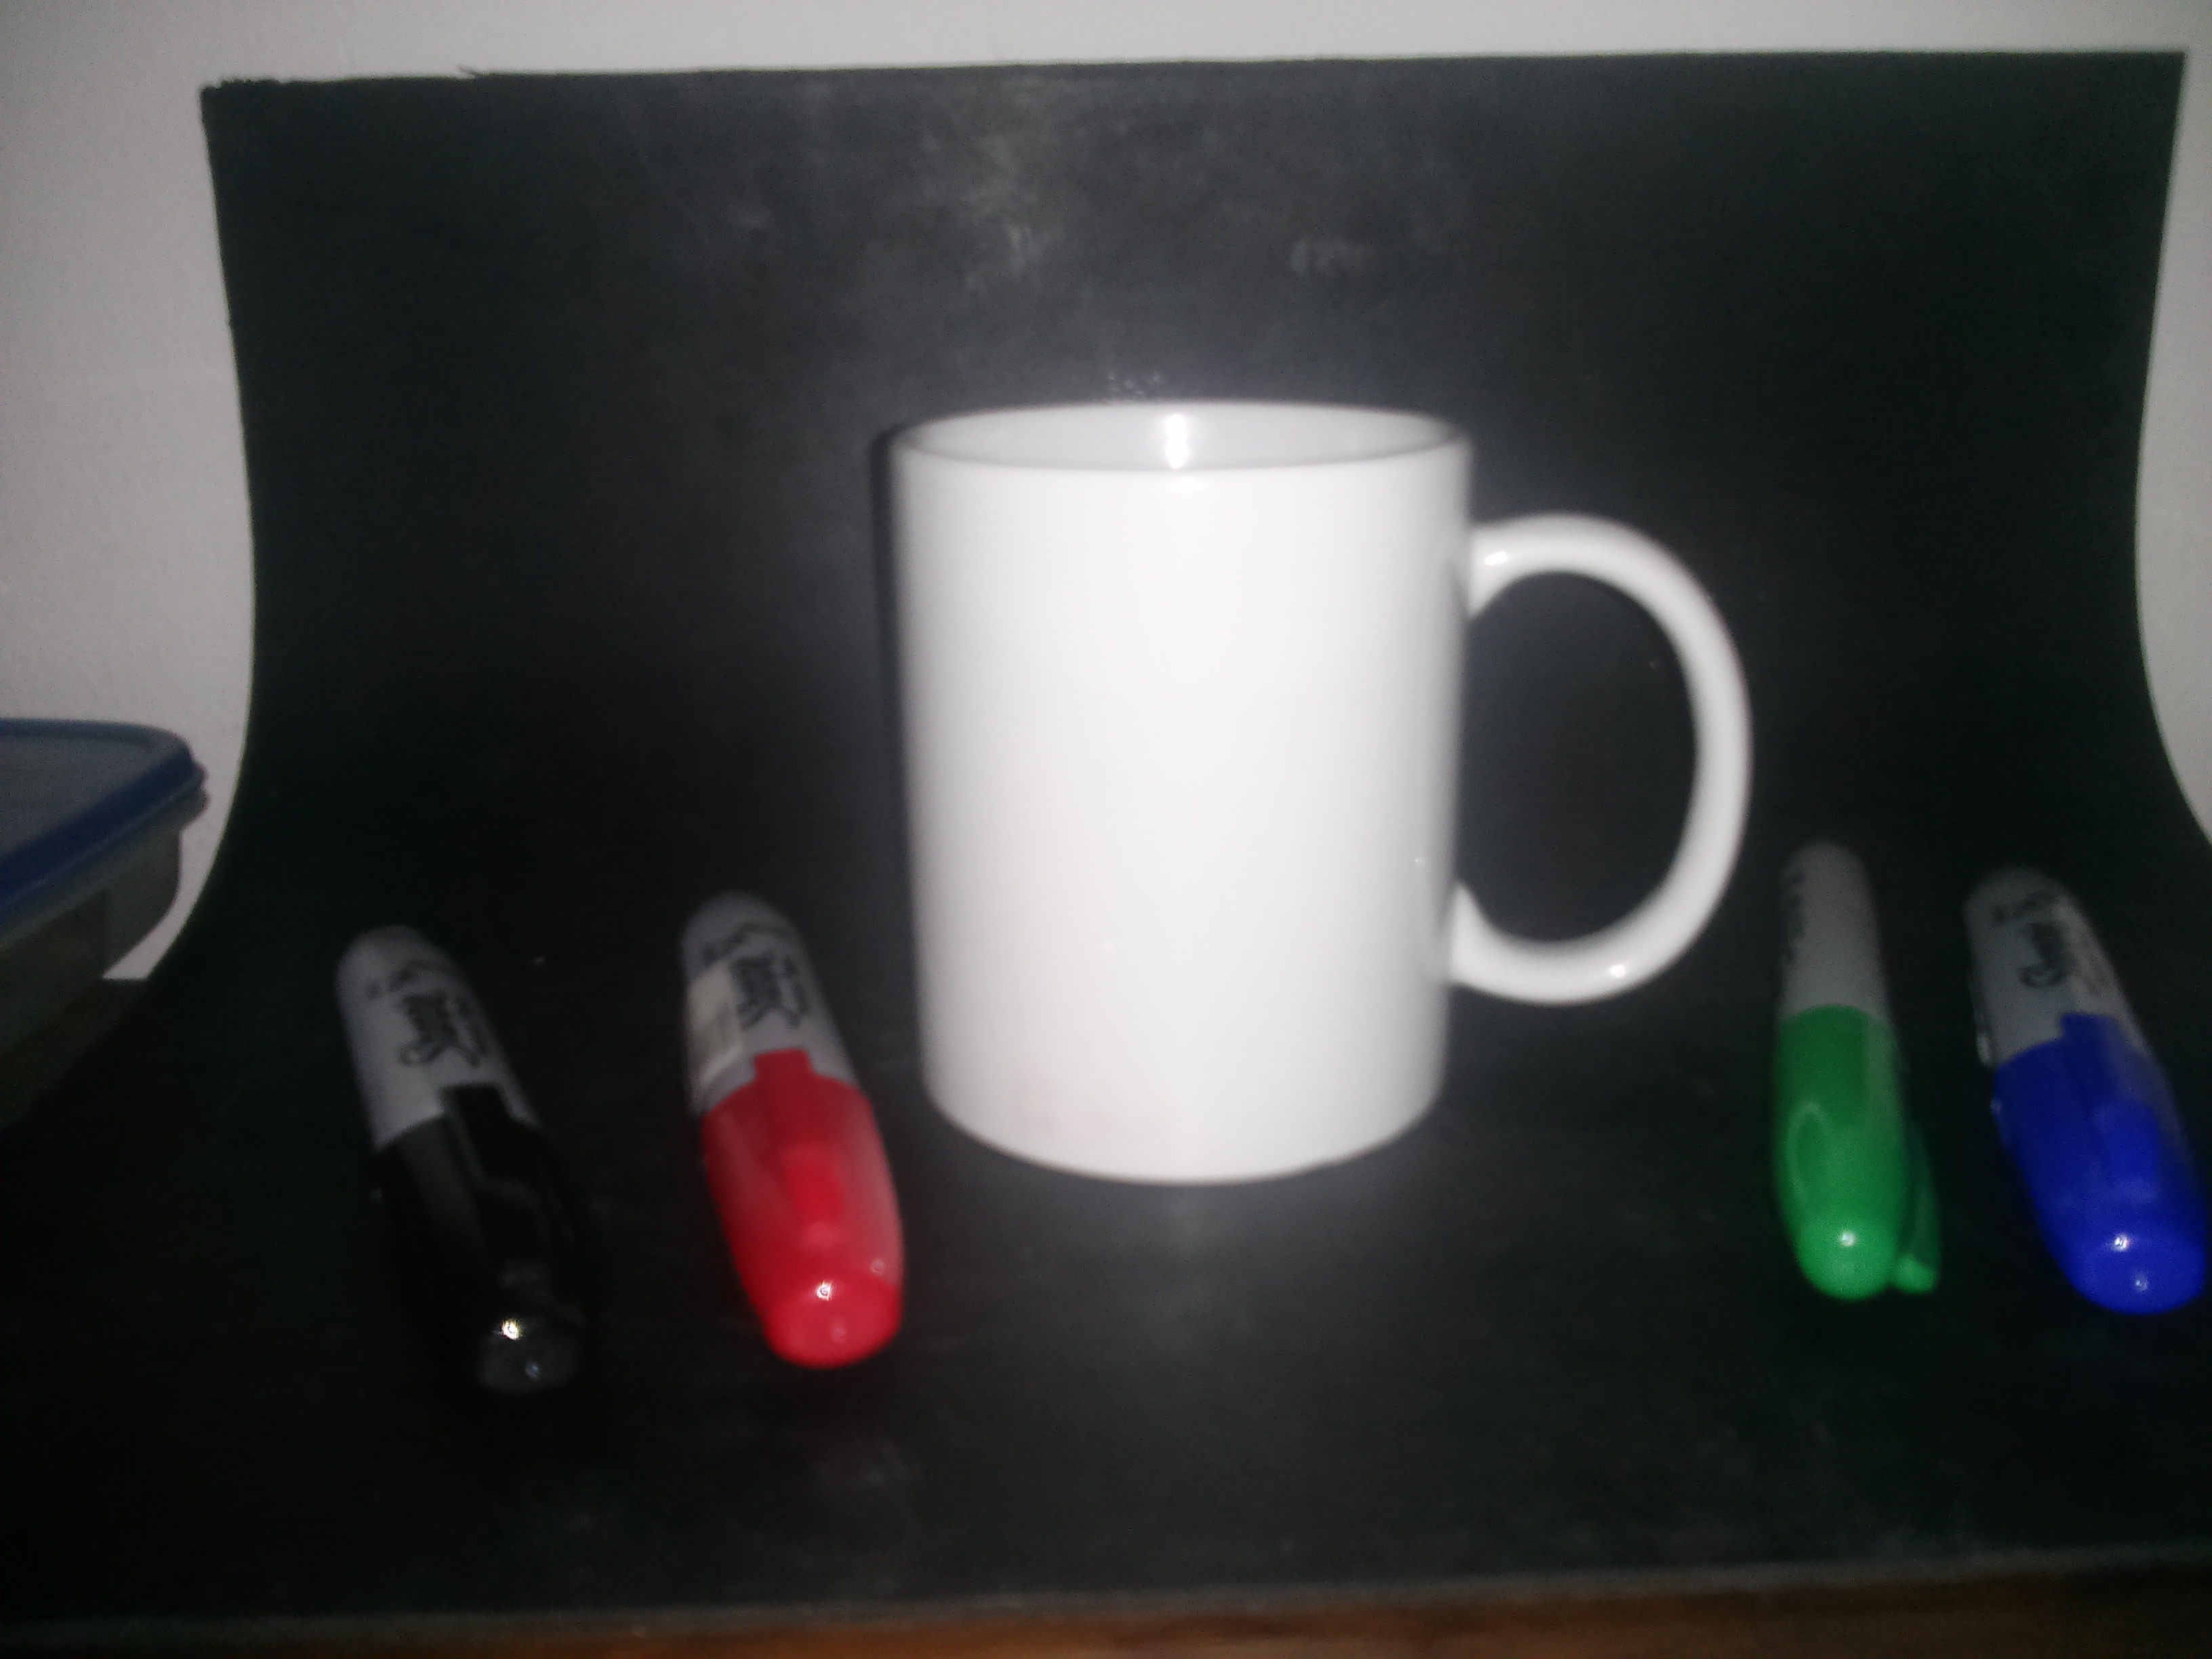
First I got a ceramic mug and some sharpies
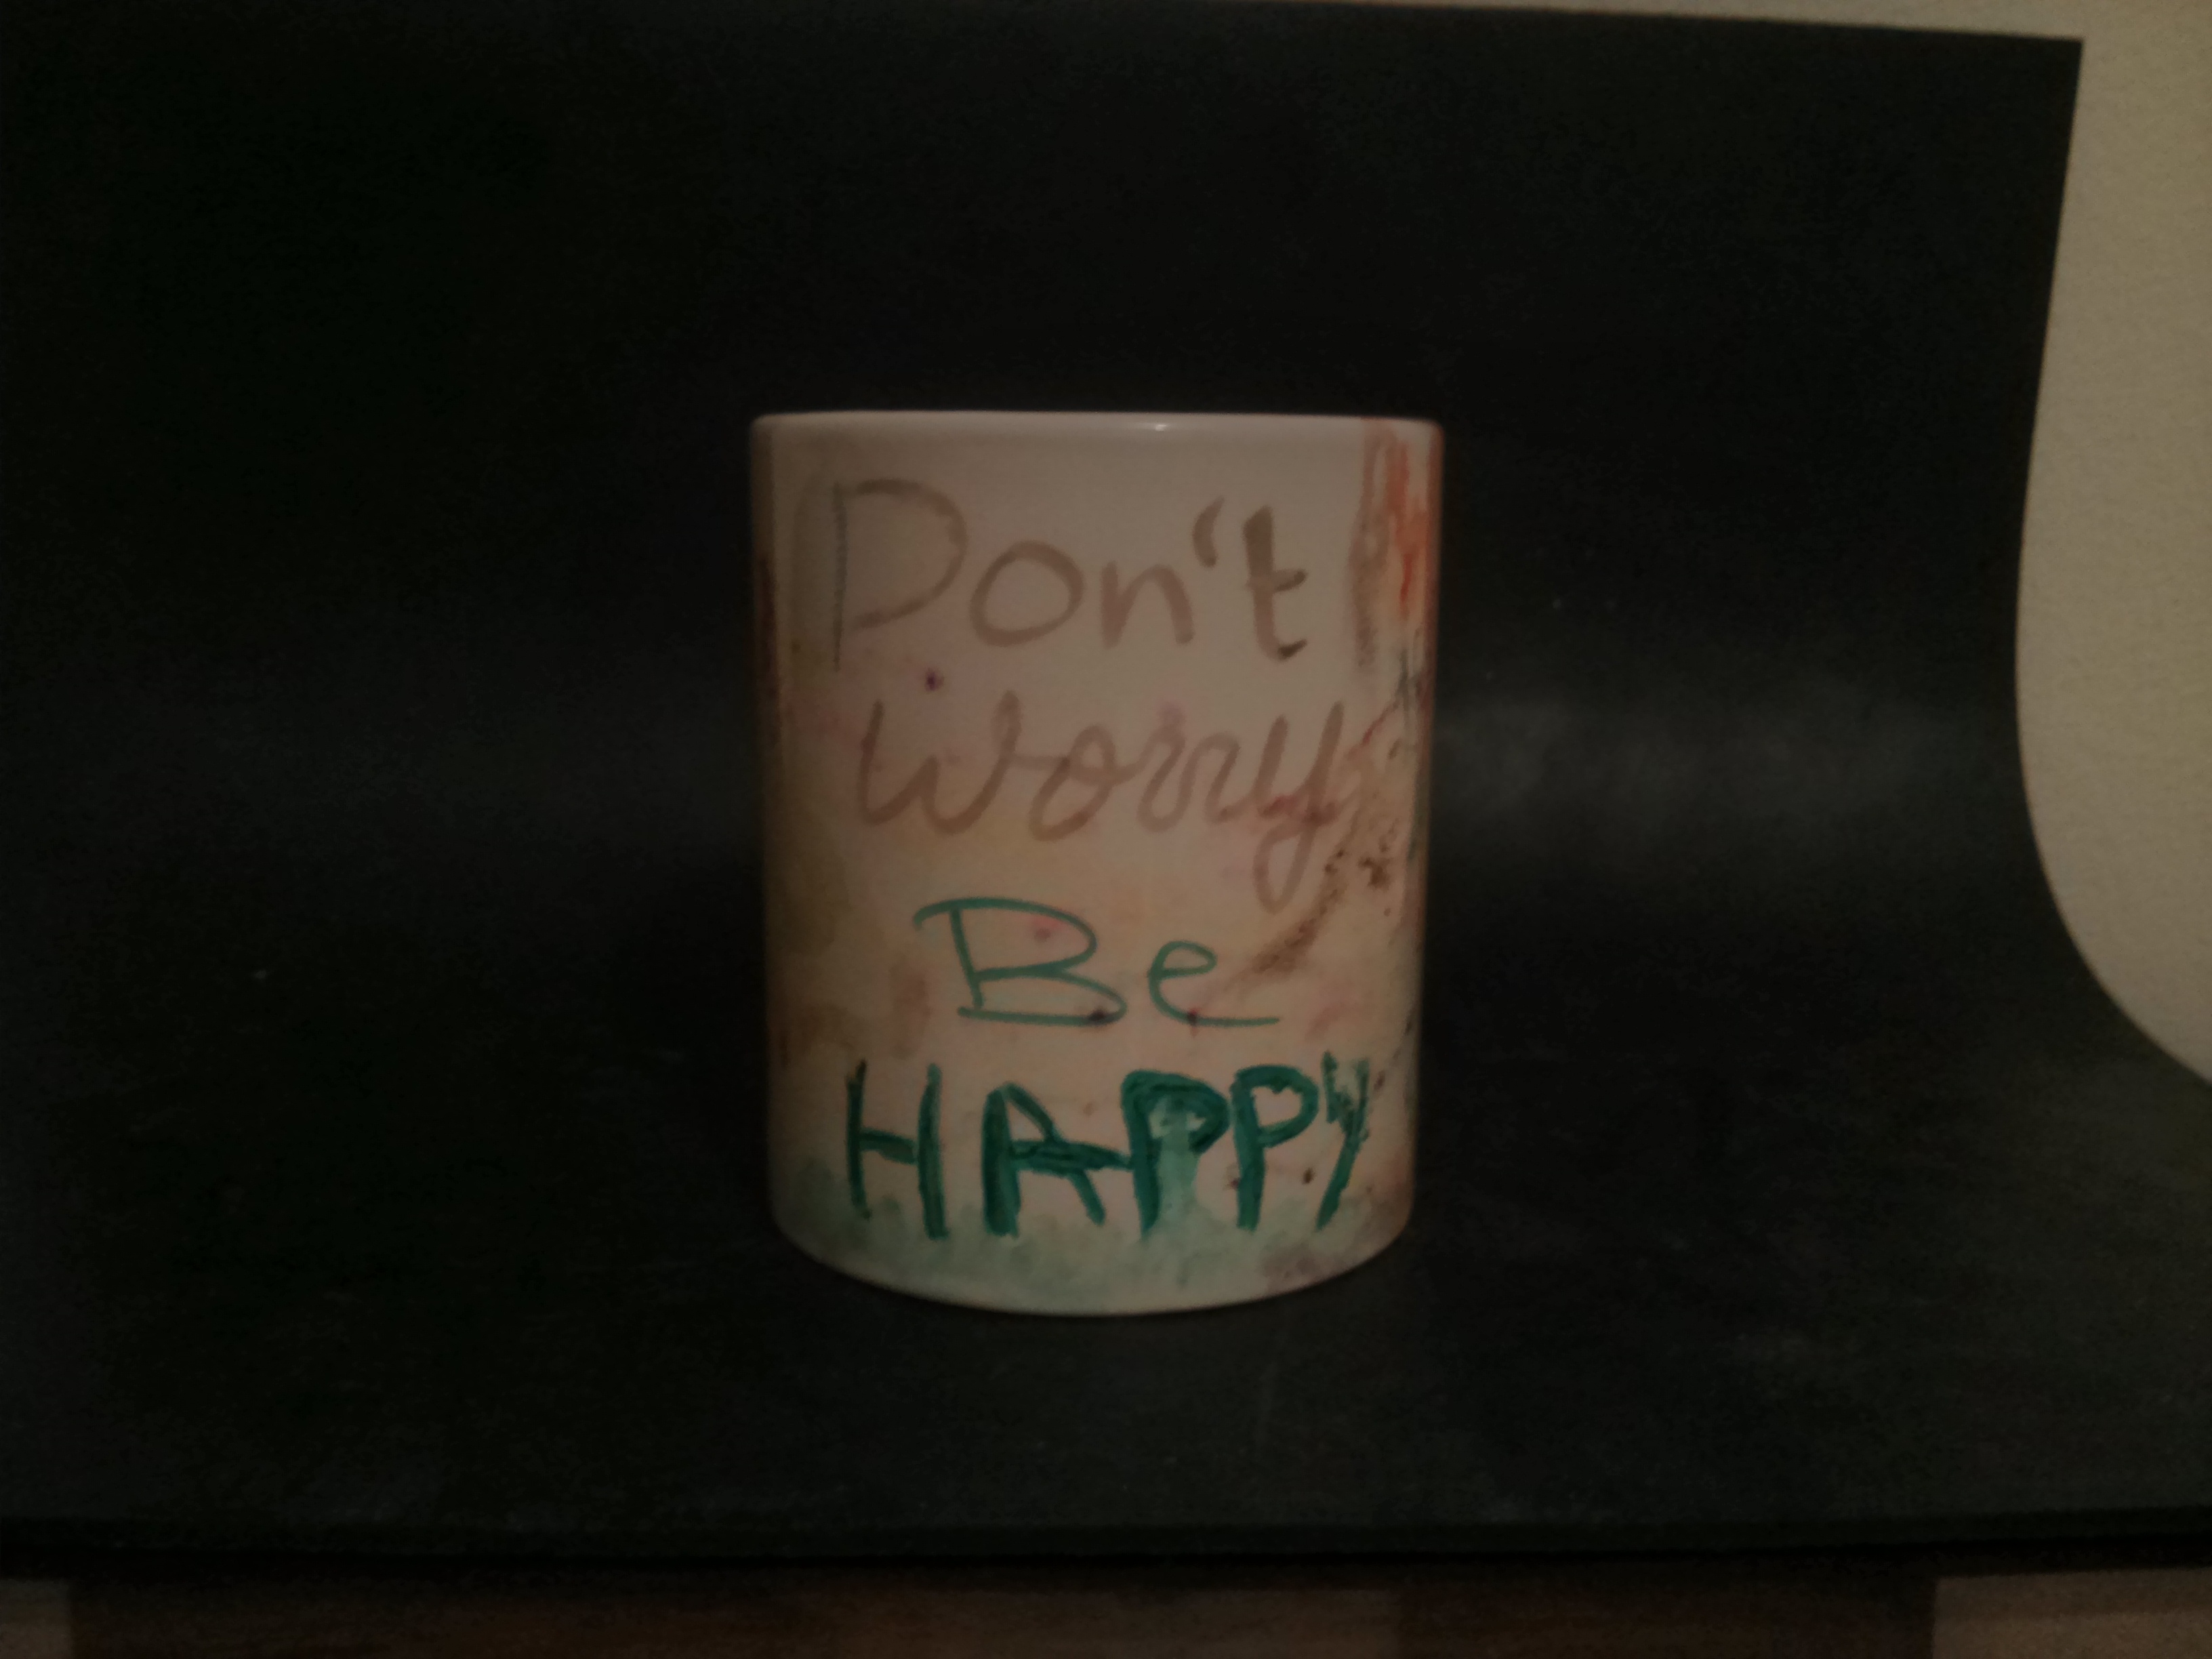
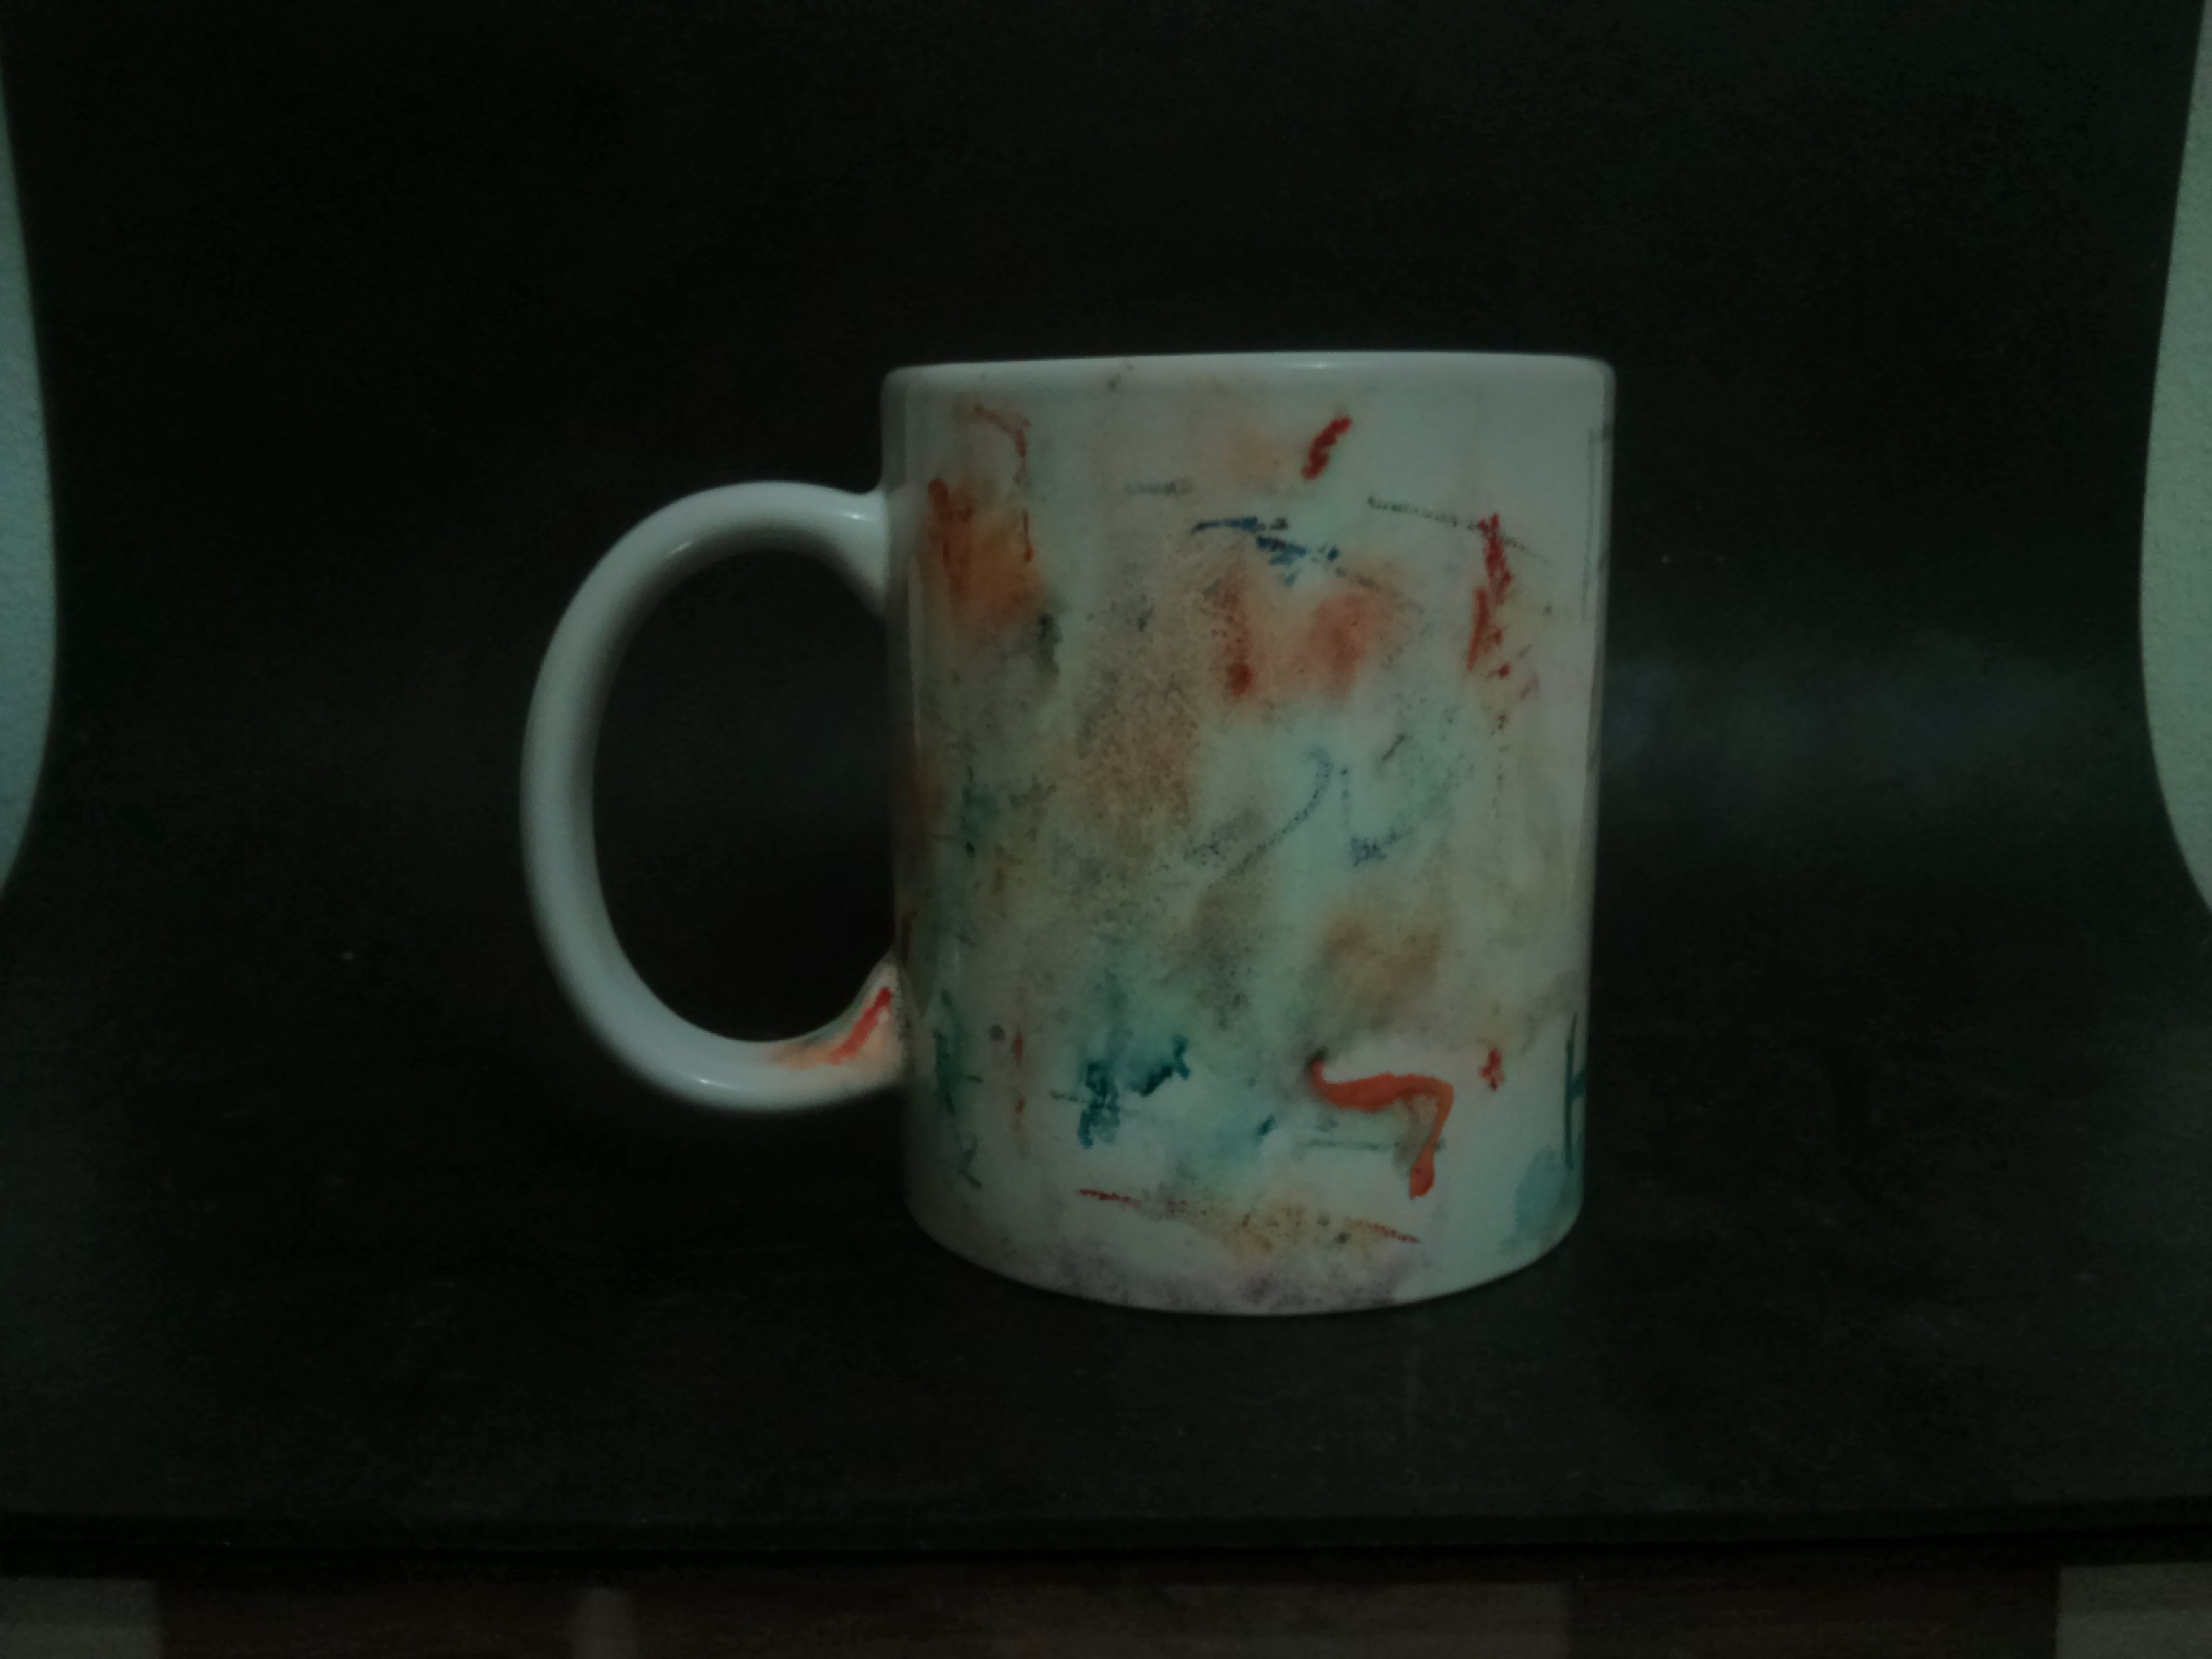
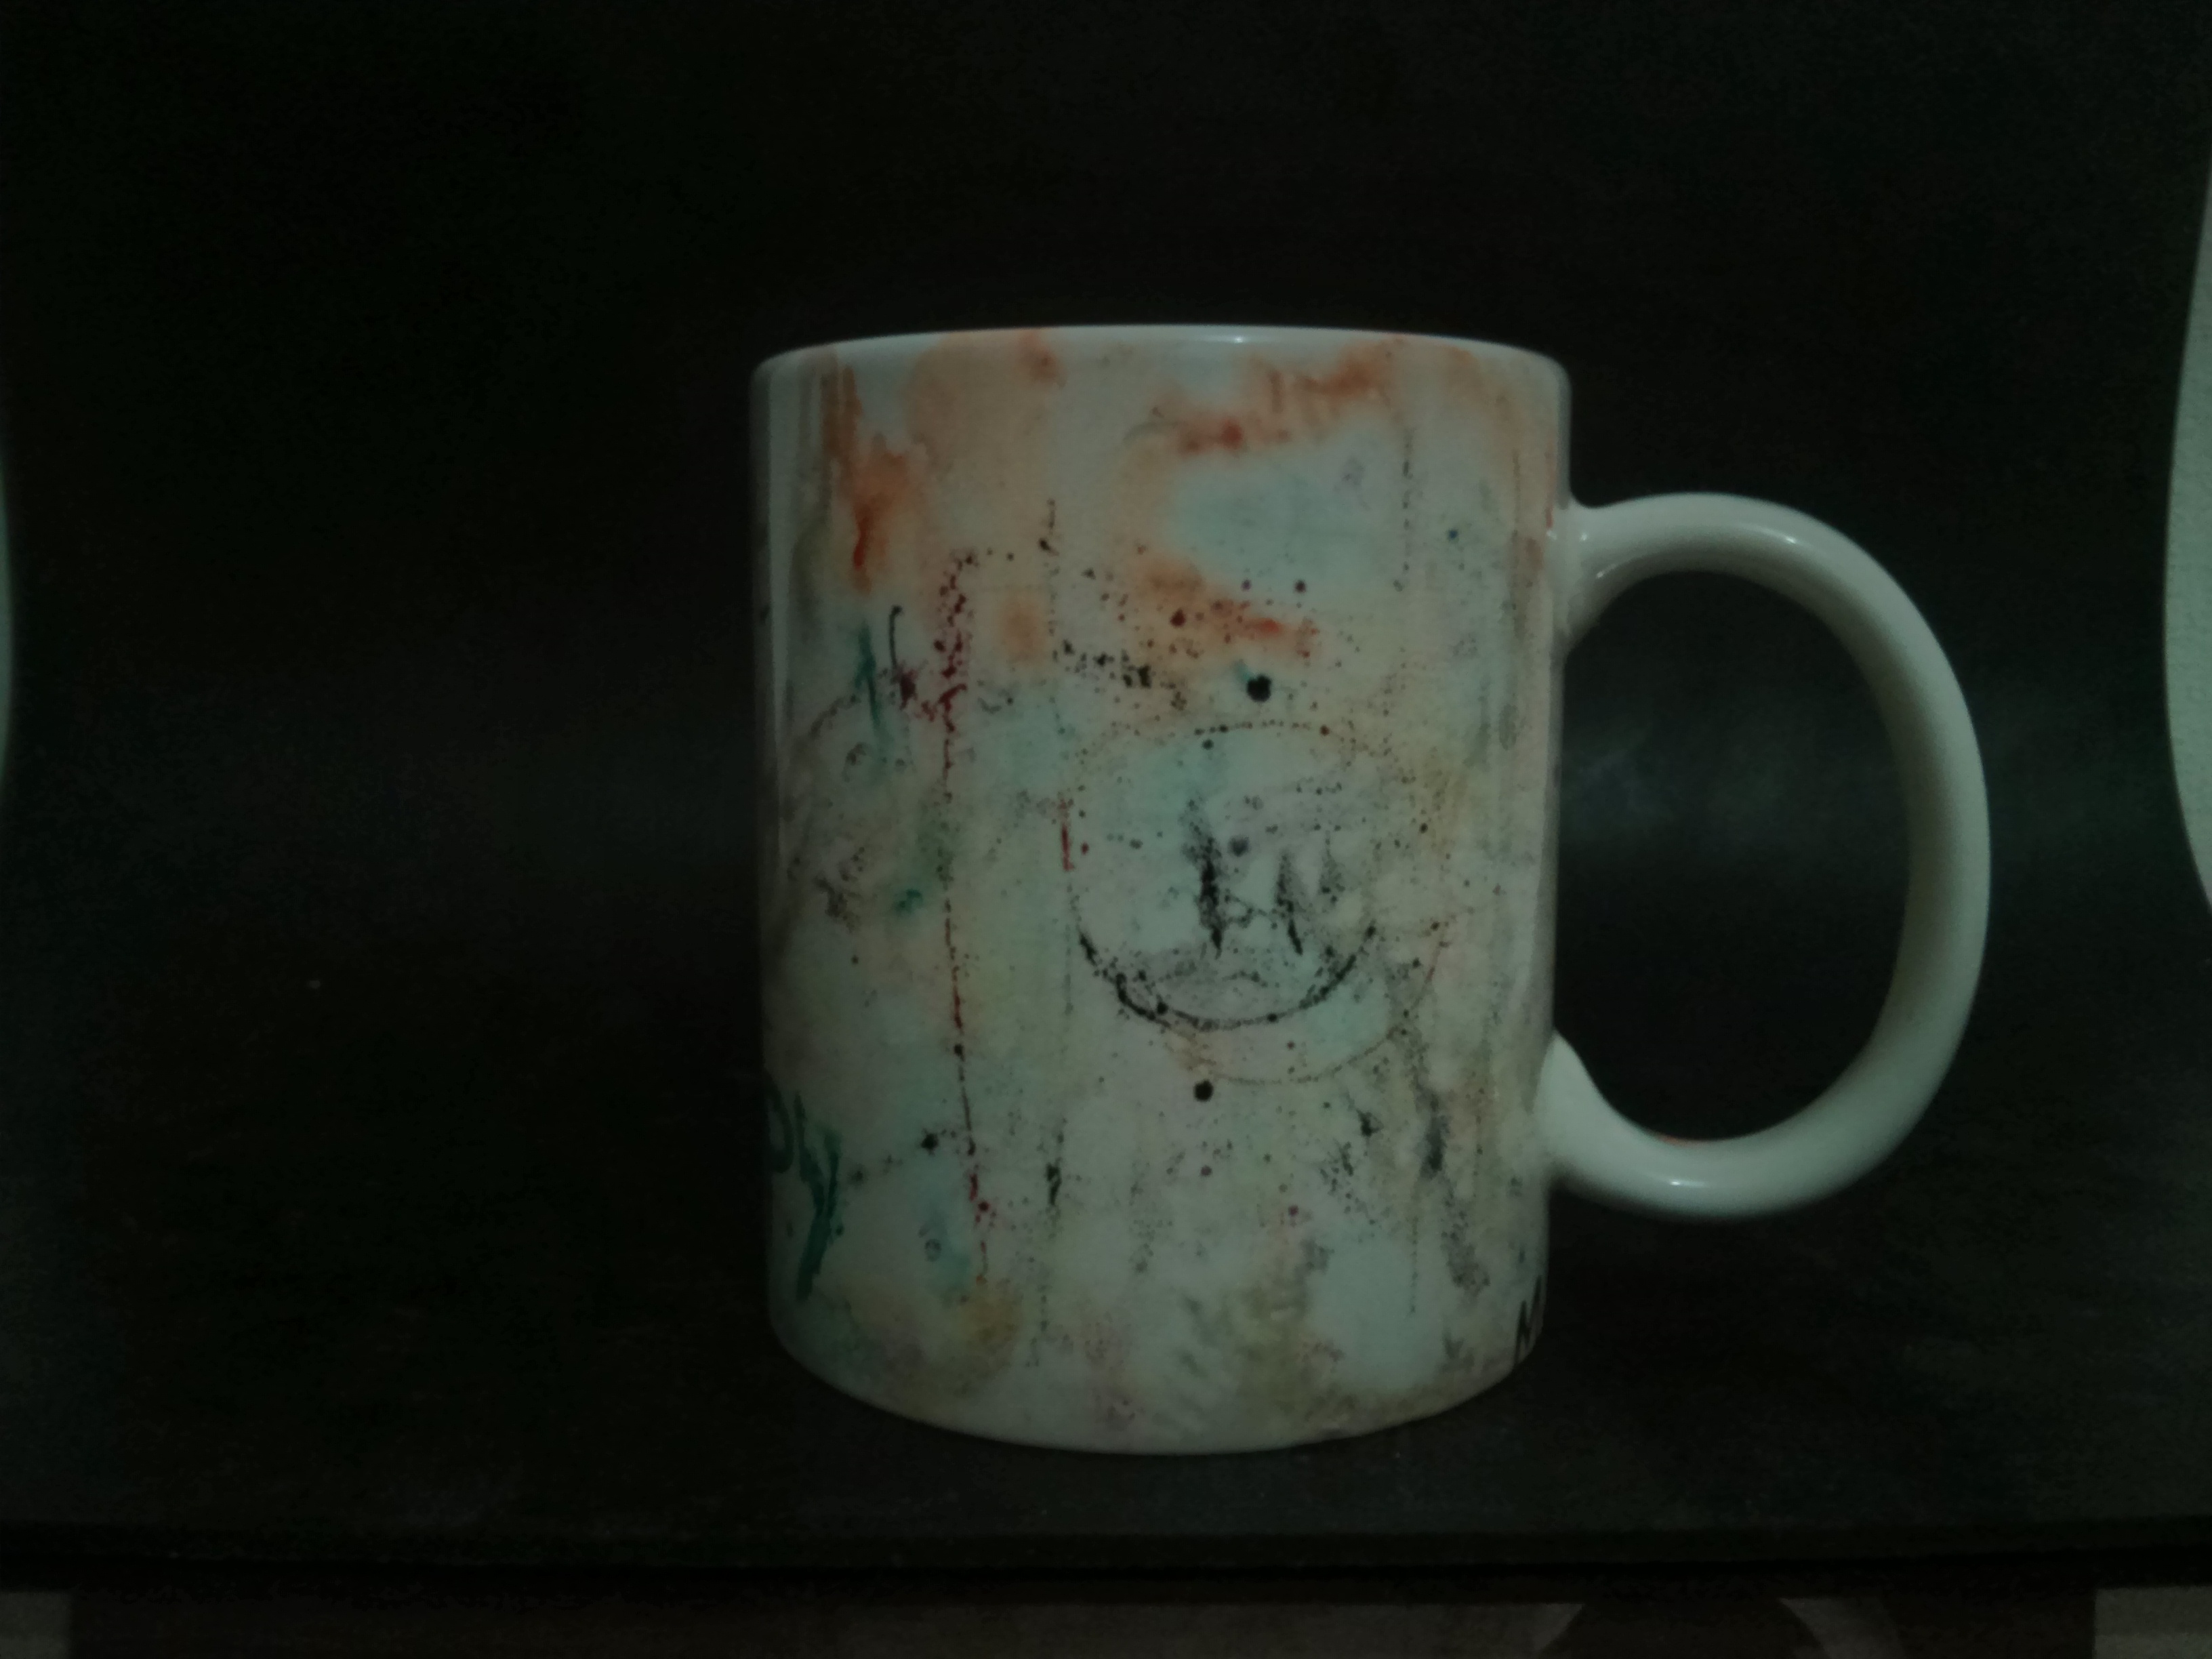
Then, started my “art-piece” (I used some perfume to merge the colors together)

Finally, leave the mug in the oven for 40 minutes at 350º, leave the mug in the oven from the beginning (don’t wait till the oven heats up) and after 40 min. turn off the oven but leave the mug in there till it cools down to avoid cracking, you may want to do the same process one more time to make sure it sticks.
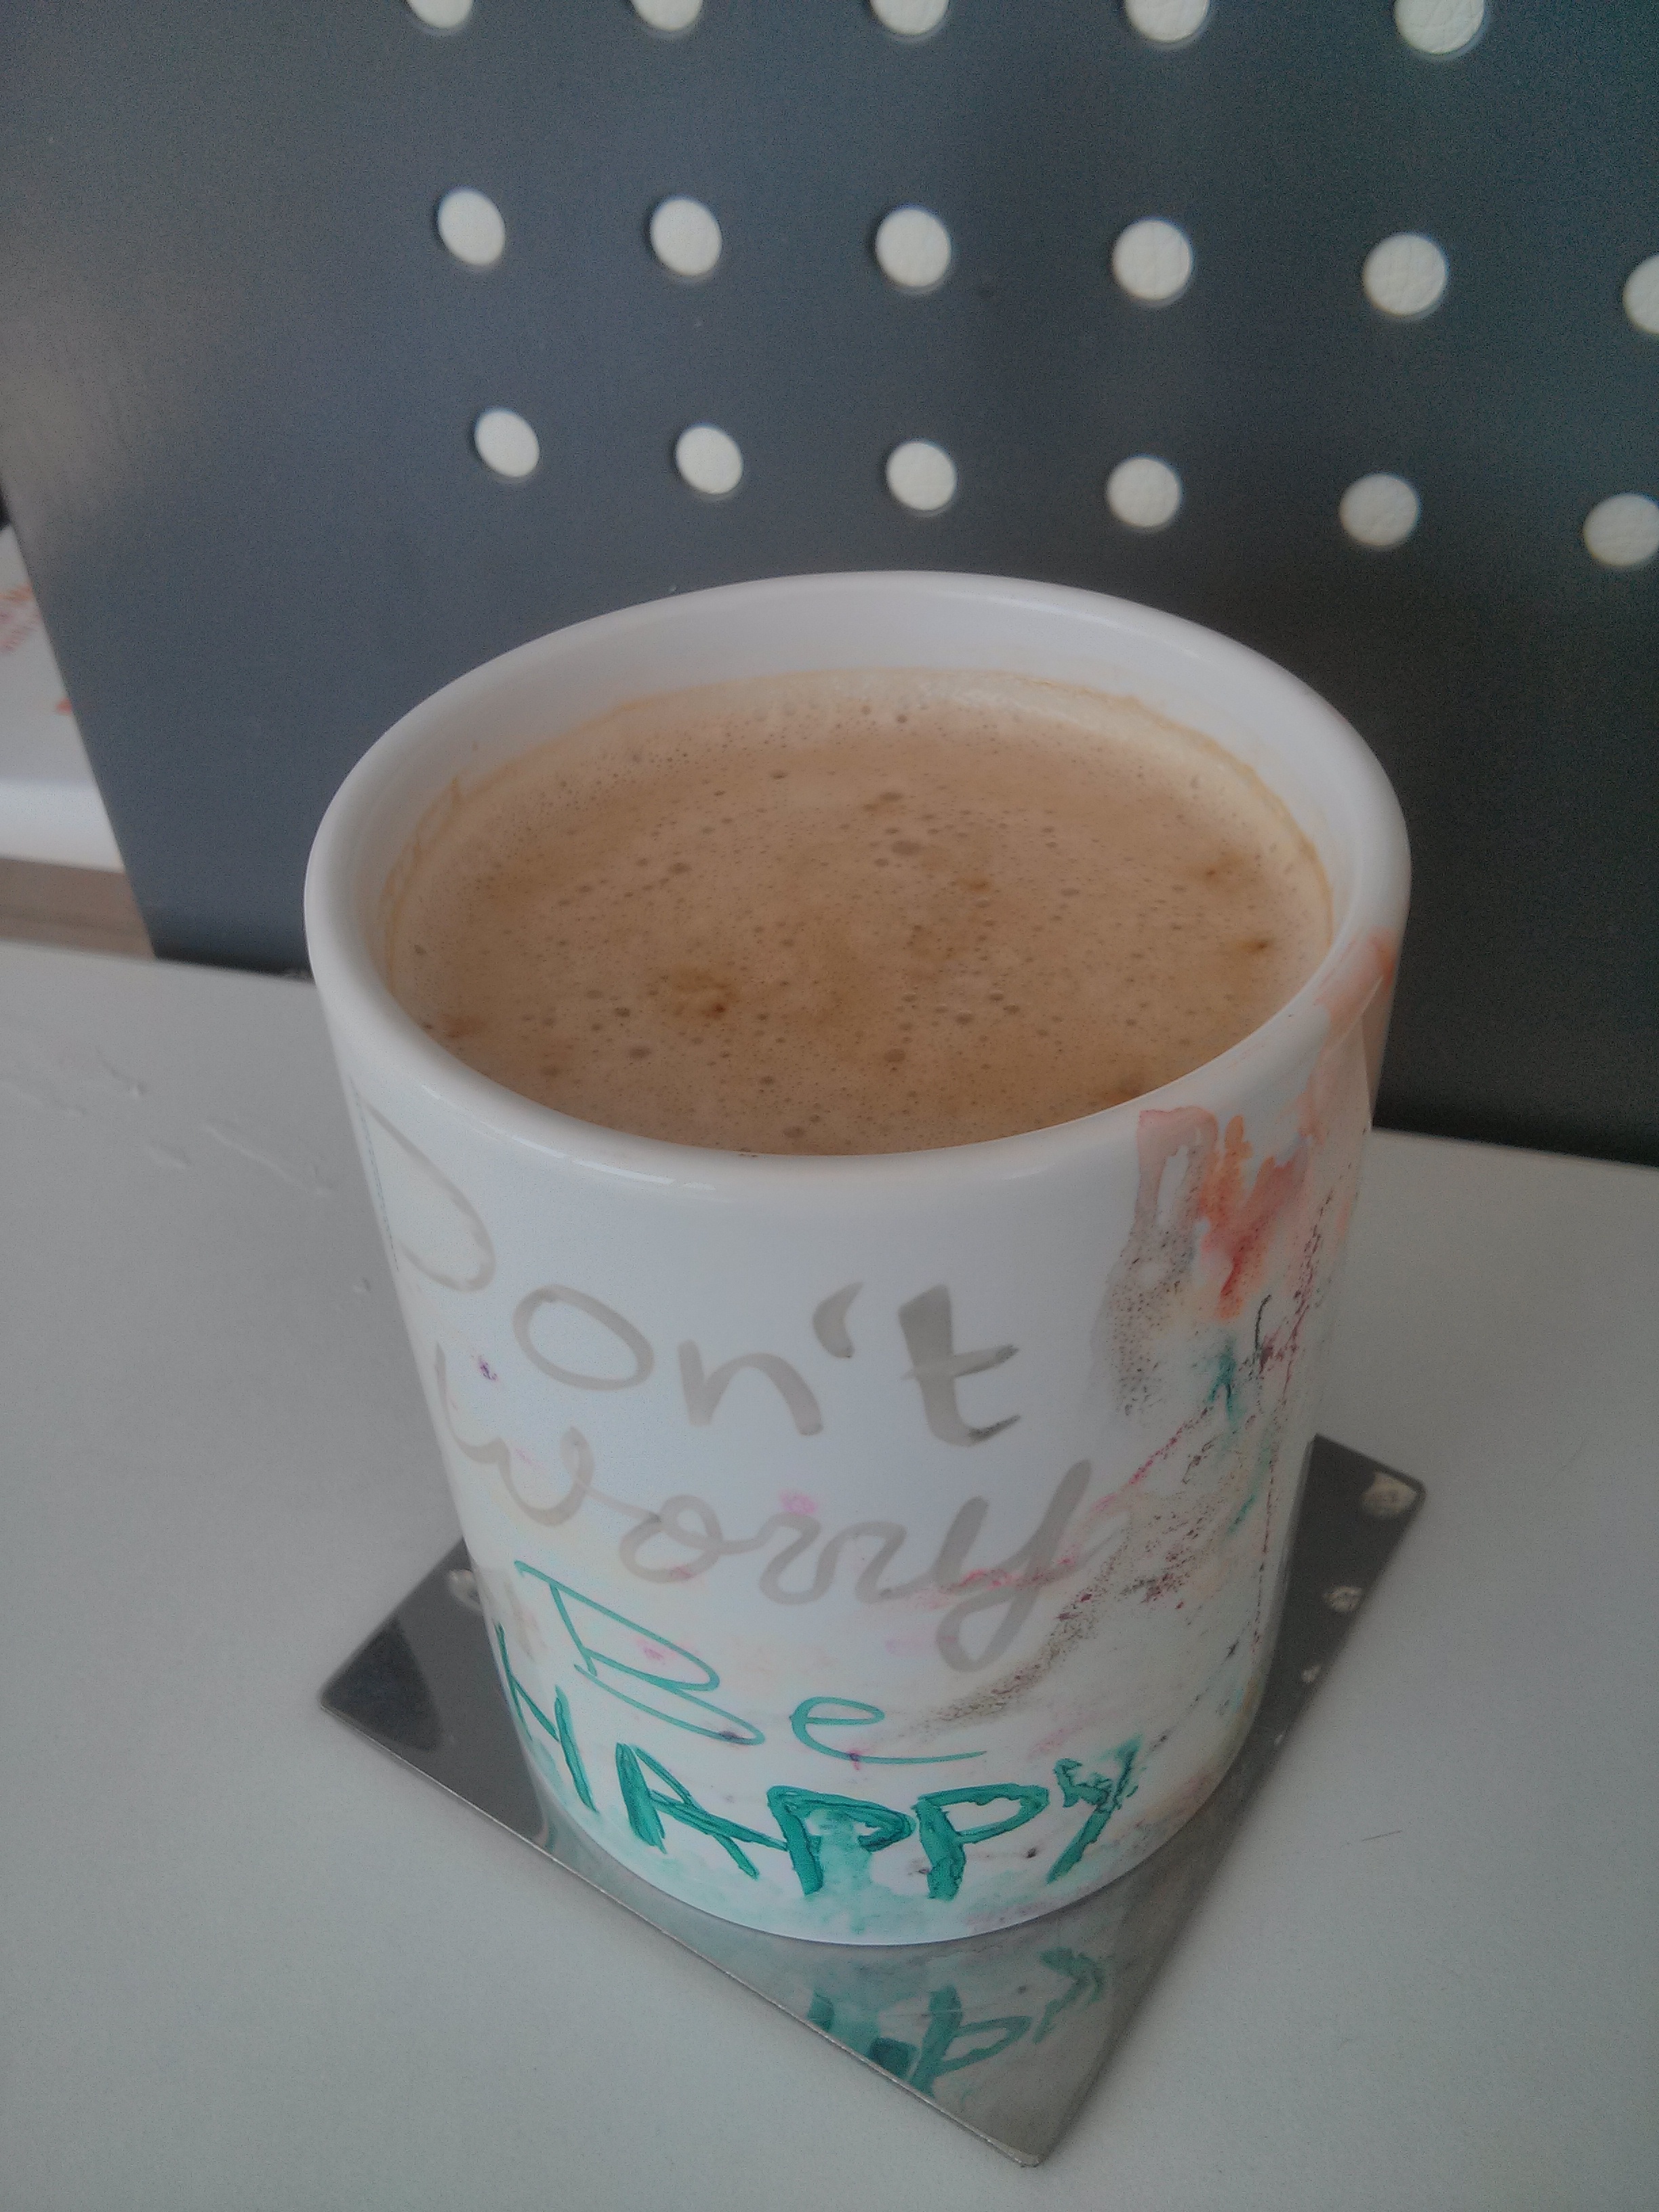
And you get your DIY mug!!
Final note: some people may spray their mugs with acrylic sealing spray so the colors won’t rub off with washing over time. If you decide you would, you could use masking tape to avoid spraying near the top (to avoid any toxins).
